


 |
| Bella decorating |
 |
| The finished product |
Despite being ridiculously busy and despite my mother sensibly suggesting I buy a gingerbread house kit with the gingerbread pieces ready made I insisted on doing it all myself from scratch. The suggestion was based on the fact that we had had Patrick's 18th birthday party the weekend before, my staff for pre dinner drinks and nibbles on Thursday night at our place, John's staff for the entire work dinner on Friday night at our place and another birthday party to attend on Saturday. Isabella's birthday party was on the Sunday.
 |
| Propping the pieces while the icing dried |
 |
| The house without the roof & cake pops |
While there were no tears, the tension was rather high for a while.
The recipe is included at the bottom of this blog. I had to make an additional batch because the template I used was not the same as the one this recipe had.
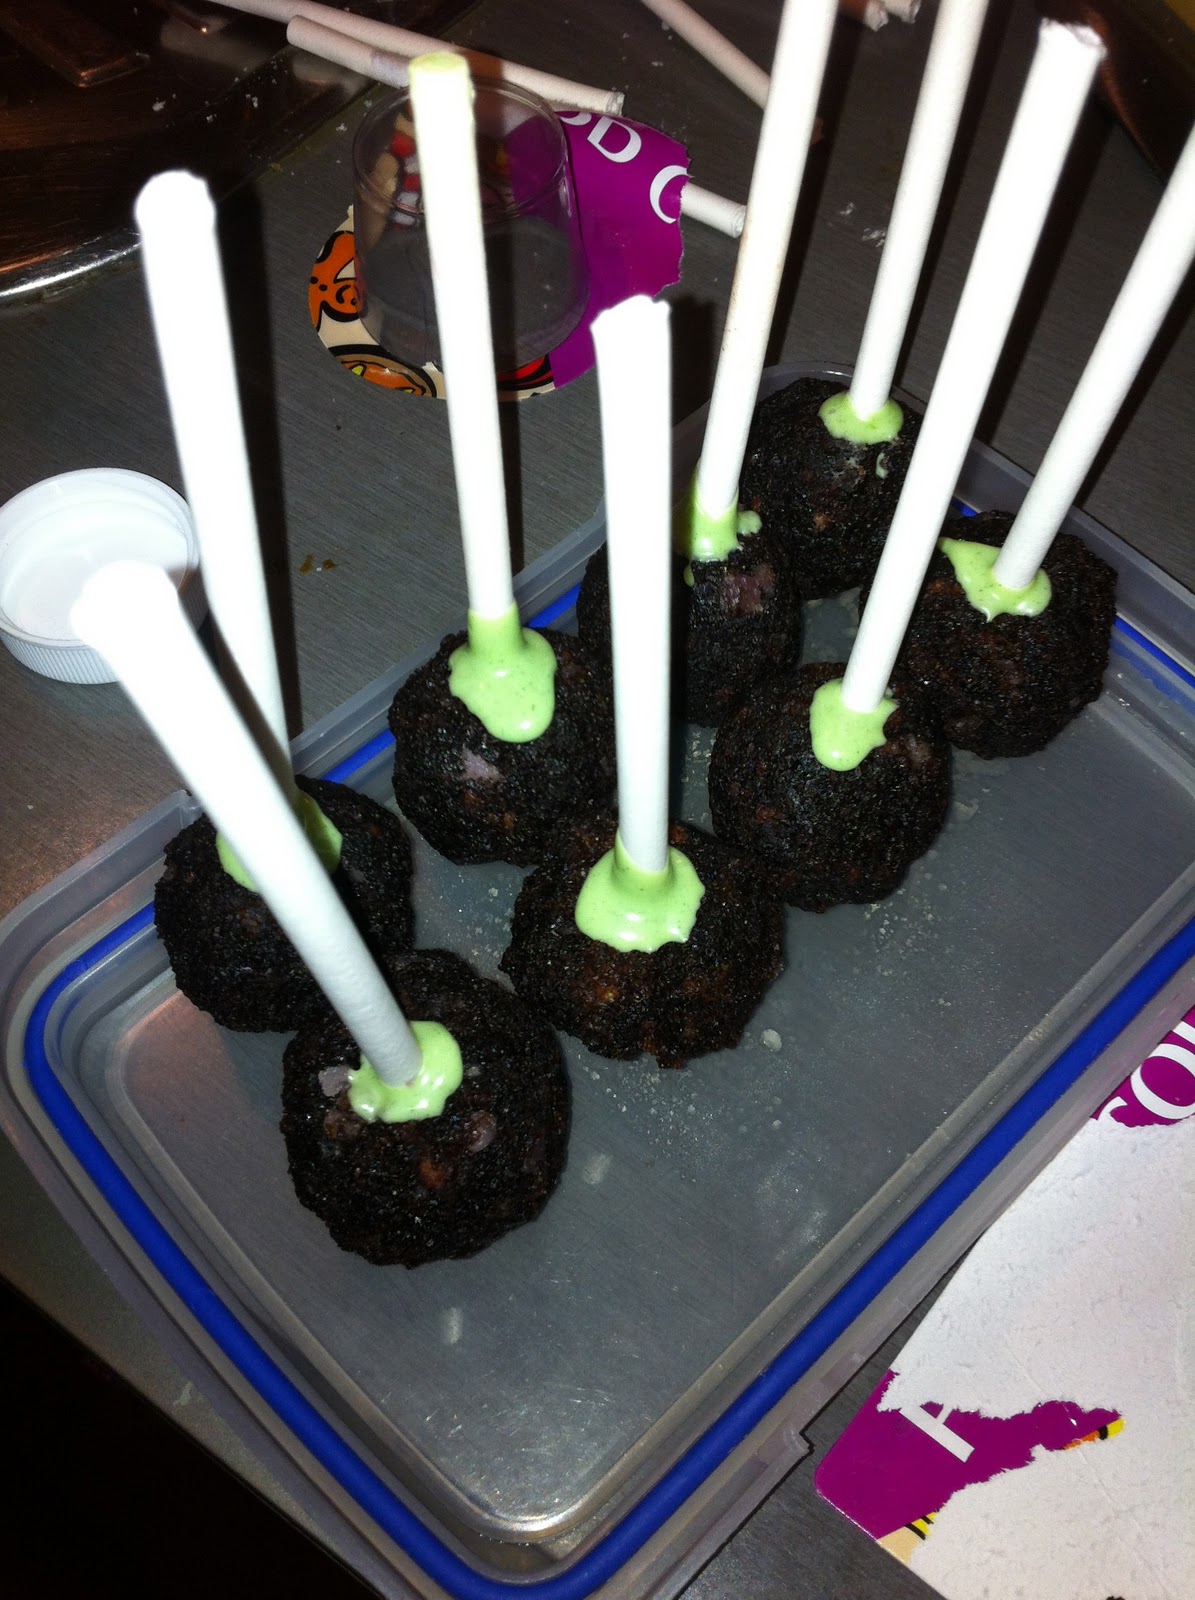 |
| Cake pops before chocolate dip |
 The cake pops looked great but were pretty fiddly for something that was not the main feature and just an additional decoration. I used a recipe from a Foodtown NZ magazine (as discussed in a previous post).
As we were preparing them we watch the Bakerella Youtube video again for hints. I will probably make them again. I used Patrick's uneaten birthday cake and icing from the previous weekend as the inside part as per the recipe and froze them until the day before the party.
 |
| Savoury muffins |
 I've included a few of the other party foods as a reminder to myself for next year. The cupcakes were iced frozen the night before and the savoury muffins were pretty easy to filly with cheese and cherry tomatoes and were very popular. The jellys too are super easy. Each layer takes about 2 hours to set in the fridge. They were rapidly consumed by the children AND adults.
Next year's birthday cake is at this stage undecided...but I have a strong urge to just buy one!

Ginger Bread House - recipe
From Kidspot NZ
Ingredients:
- 200g butter, chopped
- 1 cup brown sugar
- 1 tbsp ground ginger
- 2 tsp ground cinnamon
- 1 cup plain flour
- 3 1/2 cups self-raising flour
- 2 eggs, lightly beaten
- 1/2 cup golden syrup
- 2 quantities of Royal Icing
- Confectionary for decorating.
Method:
In a food processor, place the butter and sugar and process until fully combined.- Add the flours and the cinnamon and ginger into the processor and process on high until fully combined.
- In a jug mix the eggs with the golden syrup. Pour this into the food processor while the motor is running and process until it is all combined.Turn out onto a lighly floured bench and knead until smooth. Divide into 4 pieces and shape into flat discs. Wrap in cling film and refrigerate for 1 hour.Remove from cling film and knead until pliable. Roll out to 5mm thick and cut to the template shapes. Re-roll offcuts and cut as needed.Bake all pieces for 15-20 mins at 180°C or until golden.Leave to cool overnight on wire racks.When ready to assemble prepare the royal icing and set out lollies for decoration along with the cake board or heavy cardboard.Cut the slope for the roof from the end pieces. Cut the doors and windows from the front and back pieces.Take the royal icing and decorate the walls with lollies. Take a piece of brown paper spread with royal icing and stick it on the back of the two roof pieces so they are joined together (this will help support the weight of the roof). Leave to dry for 1/2 hour.Use the royal icing to glue the walls together and to the board. Use some heavy objects to support the walls as they dry.Place the roof on and use the royal icing to pipe the snow and shingles onto the roof. Complete the decoration and leave to dry. Gingerbread will keep for up to 1 week.


Wow Vicki, that's a lot of work! It DOES look amazing; Congratulations!
ReplyDelete