Showing posts with label muffins. Show all posts

Monday, June 4, 2012

Mini Chocolate Cup Cakes and Whiskey Truffles

I found this recipe on the website Divine Baking. I needed something to make in advance for a family function.
I made the muffins and froze them and then made the ganache frosting and left it in the fridge, then warmed it slightly to make it easy to work with. I iced the cupcakes using a plastic bag with the corner cut off. I then dusted with cocoa.
The finished product was great to look at and to taste!

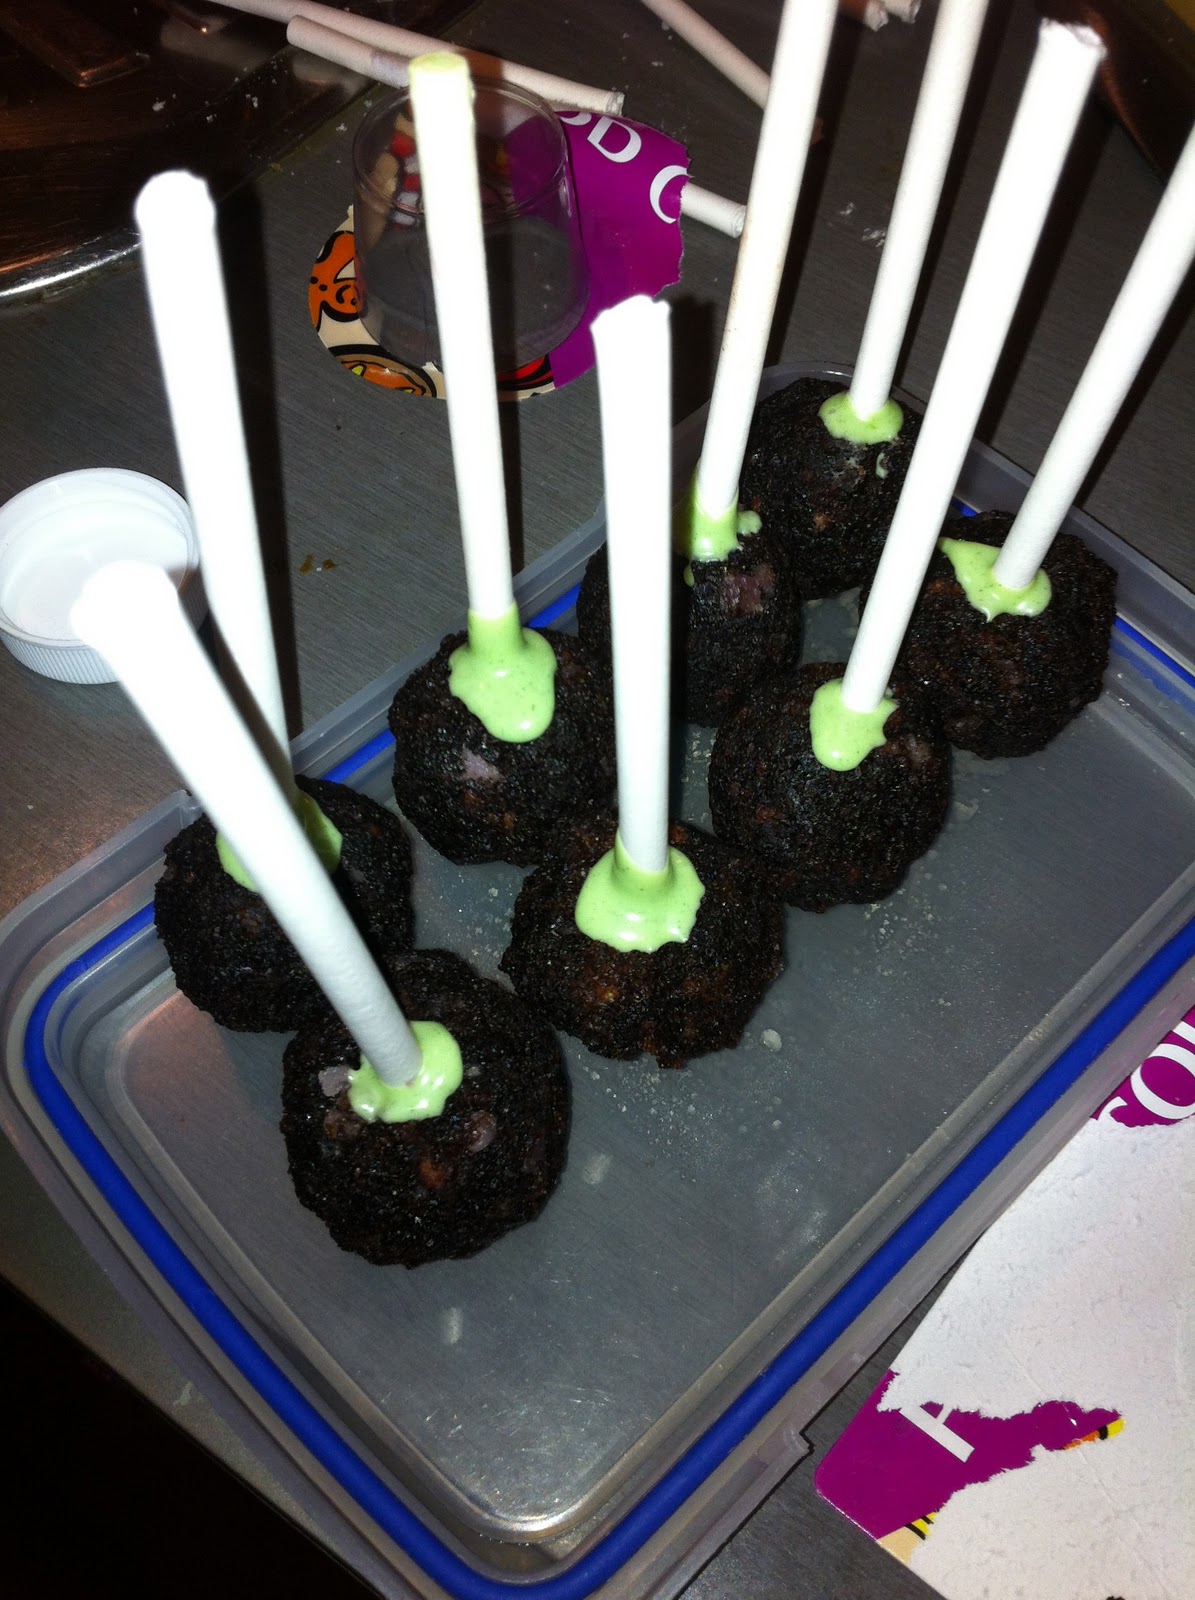
I had left over ganache frosting so I added whiskey, rolled them into balls and then rolled in cocoa powder. Despite not liking whiskey these little morsels were delicious!


Chocolate Chocolate Cupcakes


Frosting (note: if you like to generously frost your cupcakes, double this amount)
1 cup heavy cream8 ounces 60% chocolate, coarsely chopped


Cupcakes
1 cup all purpose flour
½ cup unsweetened cocoa powder
10 tablespoons (5 ounces) unsalted butter, at room temperature
¾ cup granulated sugar
½ teaspoon baking soda
1/8 teaspoon baking powder
1/8 teaspoon salt
1 large egg
¾ cup whole milk


For The Frosting: 
In a small saucepan, heat the cream over medium-low heat, until it just begins to simmer. Add the chocolate and whisk until the chocolate has melted completely and the mixture is smooth. Transfer to a small bowl and let cool for about 2 hours, or until it has thickened enough to frost the cupcakes. If you'd like the frosting to thicken faster, place the ganache in the refrigerator and stir every 5 minutes.
For The Cupcakes: 
 
Position a rack in the middle of the oven and preheat the oven to 350 degrees. Line 12 muffin cups with liners.

Stir together the flour and cocoa powder in a small bowl. Set aside.


In the bowl of a stand mixer fit with the paddle attachment, combine the butter, sugar, baking soda, baking powder and salt and beat on medium speed for about 5 minutes or until pale, light and fluffy. Scrape down the sides and bottom of the bowl as necessary.


Add the egg and beat until incorporated. Add the flour mixture and milk alternately in two batches, scraping down the bowl as necessary. Continue mixing until the batter is uniform in color.
Fill muffin cups about two-thirds full. Bake for 15-20 minutes (if making mini cupcakes bake for about 10 -12 minutes) or until the cupcakes spring back slightly when pressed in the center.


Let cool for 10 minutes in the pan on a cooling rack, then remove and allow to cool completely on the rack.


Once the frosting has thickened, dip the each cupcake in it and twist as you lift it out, or spread a small amount of frosting on top of each cupcake (I used a piping bag to frost the cupcakes, because I like a lot!).
Makes 12 regular cupcakes or 24 mini cupcakes.

Friday, April 27, 2012

Feijoa and Apple Muffins

Yes, another feijoa recipe! I have to use them up! I can't possibly waste them!

This recipe took quite a few and while meant for a cake made amazingly soft fluffy muffins.
I couldn't stop eating them.

What I really liked was that is was pretty much all made in the food processor.


feijoa & apple cake


Ingredients

  • 4 large eggs
  • 2 cups raw sugar
  • 1 cup vegetable oil (not olive)
  • 1 cup white flour
  • 1 cup wholemeal flour
  • 2 teaspoon baking soda
  • 1 ½ cups sliced feijoas
  • 1 ½ cups sliced cooked apple (tinned is fine)
  • 1 tsp ground ginger
  •  ¼ tsp salt
  • 1 tablespoon finely grated lemon zest
Method
  1. Set oven to 180ºC. Grease or spray a 25cm tin or 12 deep muffin tins.
  2. Break eggs into processor bowl then add sugar. Pulse for a few seconds and leave sitting while you assemble other ingredients.
  3. Sift white flour, baking soda, ginger and salt together then gently stir in wholemeal flour. Set aside
  4. Add lemon zest to chopped and measured feijoa and apple flesh.
  5. Process the sugar and egg combo for a further couple of minutes. With the motor, running dribble the oil very slowly down the feed tube.
  6. Process for another couple of minutes, remove lid and add half the dry ingredients, pulse, add the remainder and pulse again.
  7. Add the fruit to the mixture and pulse briefly until just combined.
  8. Spoon mixture into prepared tins and bake small versions for about 25 minutes or about an hour for the large cake.

Tuesday, January 10, 2012

Strawberry Fare


I have not had a chance to go to the fruit and vege markets in Sandringham since I started my holidays due to a very busy start and then time away. This morning after a much needed coffee at Atomic, Isabella and I stocked up at the market - including a couple of huge bunches of coriander which I can't wait to cook with.
The produce for sale all looked a bit worse for wear, no doubt due to the very wet summer we have had.
Our main mission was to find strawberries - despite being told by several sources that this might be difficult due to the weather. We found 2 stalls selling them, neither were as cheap as they usually are this time of year but Isabella had her heart set on making strawberry cupcakes for her friend Jaime who is coming this afternoon.

We made the cupcakes and then a big pot of strawberry jam.
The cupcakes were ok but I'd use the vanilla cup cake recipe I've posted previously and just add 1/3 cup of chopped strawberries in the future.

The jam was made using 'jam sugar' which had added pectin to make it set. I've not really made jam before so decided to cheat a bit.

Thank you Rachel for the cup cake stand for Christmas.

This recipe is from the back of the Jam Sugar packet and is also on the 'Chelsea Sugar' website

Super Quick Strawberry Jam
Ingredients
1kg Strawberries (hulled and rinsed)
1kg Chelsea Jam Setting Sugar
A Knob of Butter (10g)
  1. Crush strawberries coarsely with a potato masher or blender.
  2. Place strawberries and sugar in a large, heavy based 6 litre pot.
  3. Heat mixture over a low heat until sugar is dissolved. Do not allow to boil.
  4. Add a knob of butter then increase heat and bring to a full boil (a boil that cannot be stirred down).
  5. Boil for 4 minutes only. Remove from heat, skim off any foam, test for set and bottle in pre-sterilised jars


Monday, December 19, 2011

THE Gingerbread House

Bella decorating
The finished product
We've been building up to this one for almost a year. It was almost in the 'disasters' category but when the guests arrived for Isabella's 4th birthday party it all looked pretty good. Bella was really proud of her efforts and felt a real sense of achievement. I was pleased too but probably more relieved it had finally all come together.

Despite being ridiculously busy and despite my mother sensibly suggesting I buy a gingerbread house kit with the gingerbread pieces ready made I insisted on doing it all myself from scratch. The suggestion was based on the fact that we had had Patrick's 18th birthday party the weekend before, my staff for pre dinner drinks and nibbles on Thursday night at our place, John's staff for the entire work dinner on Friday night at our place and another birthday party to attend on Saturday. Isabella's birthday party was on the Sunday.

Propping the pieces while the icing dried
The house without the roof & cake pops
I am really pleased with the final product but the amount of time it took to get there was crazy (in hindsight). I'd been really organised preparing party food in advance and freezing it to make the day as stress free as possible. What I hadn't considered was really high humidity that makes gingerbread soggy and easily breakable. On the day of the party I ended up sticking the roof to a sushi rolling mat with loads of melted chocolate and constructing a cardboard structure to hold the roof just above the walls of the house.
While there were no tears, the tension was rather high for a while.
The recipe is included at the bottom of this blog. I had to make an additional batch because the template I used was not the same as the one this recipe had.


Cake pops before chocolate dip
The cake pops looked great but were pretty fiddly for something that was not the main feature and just an additional decoration. I used a recipe from a Foodtown NZ magazine (as discussed in a previous post).
As we were preparing them we watch the Bakerella Youtube video again for hints. I will probably make them again. I used Patrick's uneaten birthday cake and icing from the previous weekend as the inside part as per the recipe and froze them until the day before the party.

Savoury muffins
I've included a few of the other party foods as a reminder to myself for next year. The cupcakes were iced frozen the night before and the savoury muffins were pretty easy to filly with cheese and cherry tomatoes and were very popular. The jellys too are super easy. Each layer takes about 2 hours to set in the fridge. They were rapidly consumed by the children AND adults.

Next year's birthday cake is at this stage undecided...but I have a strong urge to just buy one!


Ginger Bread House - recipe
From Kidspot NZ
Ingredients:

  • 200g butter, chopped 
  • 1 cup brown sugar 
  • 1 tbsp ground ginger 
  • 2 tsp ground cinnamon 
  • 1 cup plain flour 
  • 3 1/2 cups self-raising flour 
  • 2 eggs, lightly beaten 
  • 1/2 cup golden syrup
  • 2 quantities of Royal Icing
  • Confectionary for decorating.
  • Method:

    In a food processor, place the butter and sugar and process until fully combined.
  • Add the flours and the cinnamon and ginger into the processor and process on high until fully combined.
  • In a jug mix the eggs with the golden syrup. Pour this into the food processor while the motor is running and process until it is all combined.
    Turn out onto a lighly floured bench and knead until smooth. Divide into 4 pieces and shape into flat discs. Wrap in cling film and refrigerate for 1 hour.
    Remove from cling film and knead until pliable. Roll out to 5mm thick and cut to the template shapes. Re-roll offcuts and cut as needed.
    Bake all pieces for 15-20 mins at 180°C or until golden.
    Leave to cool overnight on wire racks.
    When ready to assemble prepare the royal icing and set out lollies for decoration along with the cake board or heavy cardboard.
    Cut the slope for the roof from the end pieces. Cut the doors and windows from the front and back pieces.
    Take the royal icing and decorate the walls with lollies. Take a piece of brown paper spread with royal icing and stick it on the back of the two roof pieces so they are joined together (this will help support the weight of the roof). Leave to dry for 1/2 hour.
    Use the royal icing to glue the walls together and to the board. Use some heavy objects to support the walls as they dry.
    Place the roof on and use the royal icing to pipe the snow and shingles onto the roof. Complete the decoration and leave to dry. Gingerbread will keep for up to 1 week. 


Sunday, December 4, 2011

Vanilla Cup Cakes and Savoury Muffins - recipes

With the big 4th birthday party only 2 weekends away, preparation has started to TRY to reduce work and stress on the day.
One of the things I am doing in advance and freezing is cupcakes that will be decorated on the day and savoury muffins that will also be finished on the day.
Both recipes are being made in mini muffin pans...not much more than a mouthful for an adult, but a perfect size for a little person.

The savoury muffins will be split halfway down the centre and then have a dollop of pesto or a slice of brie and halved cherry tomato in them.

The vanilla cupcakes will be decorated with little people in mind - bright icing and sprinkles! We had a practice on some big ones today - it's too hard to cope with baking muffins only to see them go into the freezer when you are 3...or in your 40s!

Savoury Muffins

  • 1.5 cups self raising flour (or regular flour and one teaspoon of baking powder)
  • 1 tsp salt
  • 1 cup milk
  • 1 egg
  • 200 gm cheese (a little less is ok, you can alter this to a cheddar/blue cheese mix, and fresh parmesan is also recommended).
  • Savoury fillings: caramelised onions, chopped up cooked chorizo, spinach, roasted red pepper, roasted pumpkin/kumara, feta cubes. You can add almost anything you like. (I used red and yellow pepper, ham and spring onion)
    1. Mix the dry ingredients, this includes the cheese and savoury fillings. Mix carefully to avoid mashing all the ingredients together. You can add a pinch of paprika or black pepper to the mix to taste.
    2. Mix the wet ingredients well.
    3. Mix wet and dry ingredients together. Don't over mix, it should be a stiff mixture.
    4. Spoon into greased muffin tin, garnishing the top. (A slice of tomato and some grated cheese works well, as do pumpkin seeds)
    5. Cook at 190 degrees celcius for 20 minutes or until muffin coloured.


Basic Vanilla Cup Cakes

Serving Size:

Makes 12 muffin size or 24 small cupcake size
Ingredients:
  • 125g unsalted butter, softened
  • 1 cup caster sugar
  • 3 eggs
  • 1 teaspoon vanilla extract
  • 1 ½ cups plain flour
  • 1 teaspoon baking powder
  • ¾ cup (185mL) milk


Method:


Preheat oven to 180°C. Place muffin papers in one 12-hole muffin tray or cupcake papers in two 12-hole cupcake trays. In an electric mixer, beat butter for 2 minutes until pale in colour and creamy. Add sugar one third at a time, beating well between each addition. Add the eggs one at a time, beating for about a minute between each addition. Add the vanilla essence and beat until combined.
Sift flour and baking powder and add half to butter mixture with half the milk, mix until well combined. Repeat with remaining flour and milk.
Fill cupcake papers ¾ full (an icecream scoop is perfect for this). Bake muffin size cupcakes for 20-25 minutes and small cupcakes for about 15 minutes or until a skewer inserted into the middle of a cupcake comes out clean. Transfer to wire racks and allow to cool completely.
Icing
Cream butter until pale and smooth. Add the milk and half the sifted icing sugar. Beat until well combined. Add the remaining icing sugar and beat until mixture is light and fluffy. The mixture should be a spreadable paste; if it is too dry add some more milk, if too wet add more icing sugar.
When cakes are cold, spread generously with icing and dip into sprinkles or decorate with small lollies.

Sunday, September 18, 2011

Lemon Curd Muffins


As part of my 'pay it forward' (lemon curd) plan I had planned to make lemon tarts for my staff on Monday but after finding this recipe on the River Cottage Website I knew this had to be the better option!
The muffins are beautifully light and fluffy. Next time I make them I would add more lemon curd in each one.
I also added a topping by brushing over

hot lemon curd and then sprinkling over caster sugar. Yum!
I just hope they are still fresh for tomorrow's morning tea.


Lemon Curd Muffins


  • * 225g plain flour
  • * 2 tsp baking powder
  • * A good pinch of sea salt
  • * 100g caster sugar
  • * 1 medium egg
  • * 125g plain yoghurt
  • * 125ml whole milk
  • * 75g unsalted butter, melted and slightly cooled
  • * 150g lemon curd


1. Put 12 large paper cases into a muffin tray. Put the flour, baking powder, salt and caster sugar in a large bowl and whisk lightly to aerate and combine.
2. Mix the egg, yoghurt, milk and melted butter together in a jug. Pour them into the dry ingredients and mix lightly, stopping as soon as everything is combined – it’s essential not to over-mix or you’ll get dense, cakey muffins.
3. Spoon a some mixture into each muffin case and top with a generous ½ teaspoonful of lemon curd. Add a final spoonful of muffin mixture to encase the lemon curd and three-quarters fill the cases.
4. Bake in an oven preheated to 180°C/gas mark 4 for about 30 minutes until golden brown. Transfer to a wire rack to cool. Eat on the day you bake them, ideally while still slightly warm.

Saturday, July 23, 2011

Banana and Blueberry Muffins - recipe


One of the major reasons for writing this blog is to create an 'online recipe book' to pass on to future generations. My mother has the hand written recipe book my grandmother used, and since I'm not likely to handwrite anything, this has got to be the best option for me and my family!
This recipe isn't spectacular but it is a good dependable one that I use a lot. I got it from someone who made it dairy free - instead of butter there is oil and the milk was substituted with soy milk. It is also on a scrap of fading paper that has been stuck by magnet to our exhaust fan...so I really need to get it written down before I loose it forever.

Isabella (3) loves helping to make these, although the helping is more me finding ways to keep her occupied while I quickly make them...putting muffin cases in pans, mashing banana etc.
I use really old brown bananas (the look like they should have been thrown away), often frozen that way - I struggle to throw out food and bananas don't go in my compost or work farm. The blueberries are usually frozen and just stirred in at the end of the recipe.
I usually make a double recipe and freeze lots of them. They defrost well.

Banana and Blueberry Muffins
2 cups of flour (1 of while, 1 of wholemeal works well)
3/4 cup brown sugar (I love demerara dark brown sugar)
1 tsp baking powder
1 tsp of baking soda
1-2 bananas (ripe)...I usually use two to get the fruit content up
1/2 cup oil (vege oil)
1/2 - 1 cup milk

Mix flour, b-powder, b- soda and sugar.
Mash banana, add banana and oil into dry ingredients.
Add milk to moisten.
Carefully stir in blueberries.

Bake at 200 degrees c for 15 - 20 minutes.